使用 Nexus 搭建 PyPi 私服
Nexus Repository Manager OSS 原本被大家用来做 maven 私服, 3.x 支持了 PyPi。 安装使用比较简单。
Table of Contents
安装 Nexus Repository Manager OSS 3.x
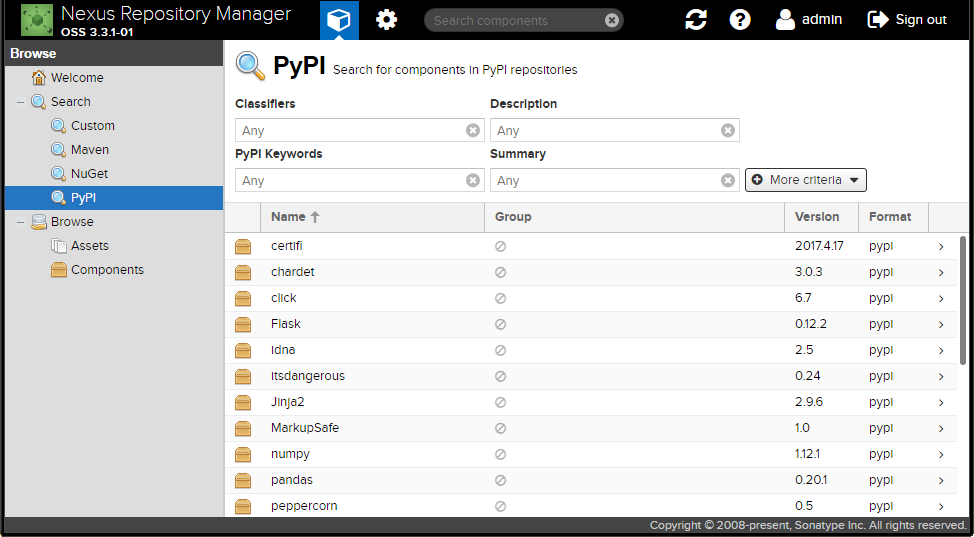
PyPi 支持
默认登录用户名/密码: admin/admin123
官方文档地址: https://books.sonatype.com/nexus-book/reference3/pypi.html
简单讲:
建立官方代理仓库
填写远程索引地址时用
https://pypi.python.org/, 不要用https://pypi.python.org/pypi.- 建立 hosted 仓库,用于内部使用
- 建立 group 仓库把官方代理和 hosted 仓库包含进来
使用
使用 pip 命令行安装
pip install flask -i http://your-hostname.com:8081/repository/myrepos/simple/ --trusted-host your-hostname.com
使用 easy_install
setup.cfg 添加
[easy_install]
index-url=http://your-hostname.com:8081/repository/ypypi/simple
全局配置
发布
~/.pypirc中添加[distutils] index-servers = nexus [nexus] repository = http://your-hostname.com:8081/repository/pypi-internal/ username = admin password = admin123
发布使用
python setup.py sdist
python setup.py bdist_wheel
twine upload -r nexus <filename>
更多关于打包发布的细节,文档在这里 https://packaging.python.org/current/
获取
~/.pip/pip.conf中添加[global] index = http://your-hostname:8081/repository/pypi-all/pypi index-url = http://your-hostname:8081/repository/pypi-all/simple
现在可以愉快的使用了,记得改密码。关于权限和用户组的配置见原文档。